
Do you wish to elevate your gaming to a whole new level since you are an avid player? In that case, you’ve found the proper site! Although first, it may appear frightening, don’t be concerned! In this blog, we’ll walk you through the steps in clear, understandable language so that even a complete novice can comfortably create a gaming setup that meets their requirements and their budget. You may carefully choose each component when building your gaming PC from scratch, ensuring that you get the most for your money.
We’ll break down the key parts you’ll require, describe how they work, and provide helpful advice throughout this tutorial to make the process of constructing a PC simple and pleasant. We can help you with anything from picking the ideal chassis and power supply to selecting the ideal CPU, graphics card, and RAM!
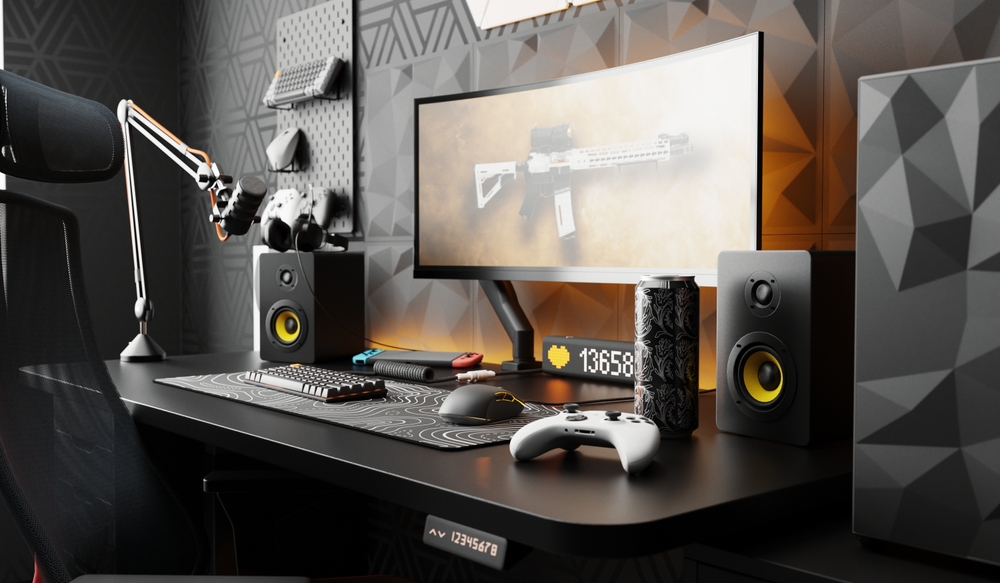
Building a gaming PC is about constructing a customised gaming system that matches your own preferences and style, not simply about saving money or gaining bragging rights. Additionally, it’s an enjoyable and stimulating hands-on learning experience that will broaden your comprehension of computer technology. So let’s move into the world of PC components and begin constructing the gaming PC of your dreams if you’re prepared to set out on an expedition to create your very own gaming masterpiece!
Basic Components Required
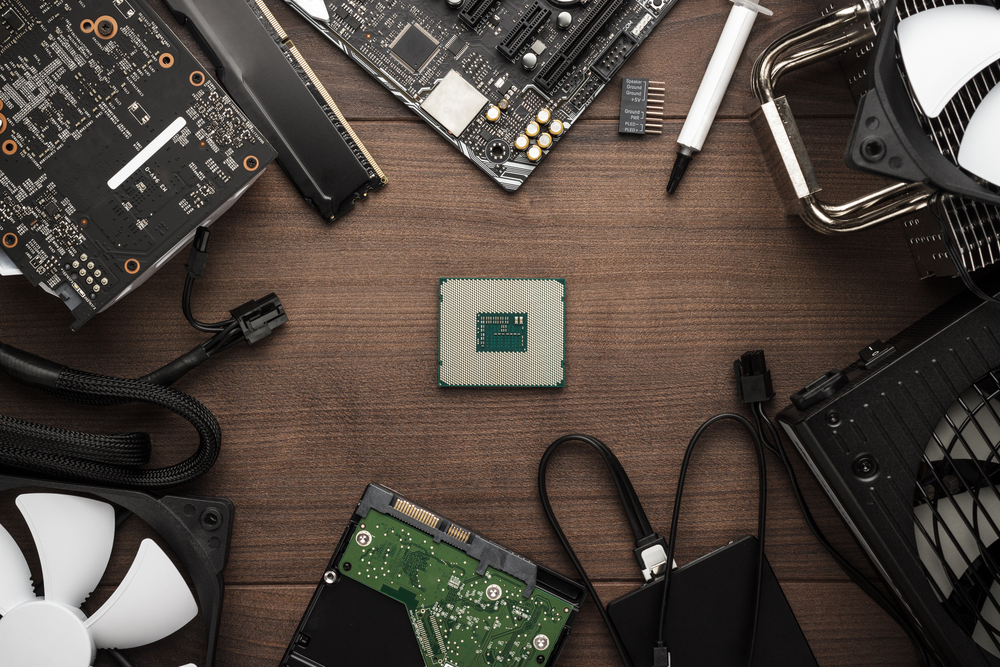
- GPU: The graphics card, or GPU, renders pictures from your PC and displays them on your monitor, making it arguably the most crucial part of a gaming setup. Improved in-game visuals and settings are made possible by more powerful GPUs.
- Processor or CPU: More than any other component, the processor (or, CPU) is what powers your computer. Your computer’s CPU transfers command from one system to another. The speed at which information is sent for both software and hardware operations increases with processor quality.
- Motherboard: All of the hardware in your computer is housed on the motherboard. Although a motherboard’s compatibility with the components you select is crucial, it might also contain integrated graphics cards, Wi-Fi systems, and other features.
- RAM: RAM (random access memory), often known as memory, controls how much data your computer can handle at any given time. RAM is where your computer keeps the data it needs to access immediately, to put it very crudely. The more RAM your computer has, the more quickly it can handle a lot of data – useful for work; and necessary for gaming.
- SSD or HDD for Storage: Solid state drives (SSDs) and hard disc drives (HDDs) are the two main types of PC storage. In either case, that is where your files are stored when not in use. Greater storage capacity translates into the greater room for files, games, video, and other content when drives are larger.
- Power supply: The power supply does exactly what it says on the tin. It transfers energy from an outlet to certain computer systems. It may be both the least intriguing and most important component of the PC puzzle. It might be difficult to choose, but once you decide, you’ll probably never have to worry about it again.
Process
1. Make a list of your components:
A motherboard, a CPU, a GPU, some RAM, a storage device, a power supply, and a casing are required to assemble a gaming computer. When you have everything you need, you can start. Let’s now begin the major constructing procedure.
2. Prepare Windows:
One of those stages is simple to skip but may be considerably more difficult to do later. Create a bootable USB device for Windows 10.
3. Install the CPU:
Installing a CPU might differ slightly depending on your component, including the type of motherboard you have, whether you’re utilising an AMD or an Intel chip, and many other factors.
4. Install the CPU cooler:
To proceed to the following step after connecting a regular CPU fan, simply turn it on. The motherboard must already be in place since installing a liquid cooling system requires you to attach a fan and heatsink to your case. Install your fan now if you have one. Install the backplate now and defer the fan hookup for later if your cooling system uses liquid. The specifics will differ here, so kindly refer to your instruction manual.
5. Install Ram:
You can easily install RAM by finding the motherboard’s RAM slots and carefully inserting each RAM stick one at a time. Make certain they fit securely.
6. Install SSD or M.2:
Place your M.2 drive in the motherboard’s corresponding M.2 slot. Use screws to secure your SSD (Solid State Drive) to the motherboard’s storage bay if you’re utilising one.
7. Install Motherboard in Case:
Carefully insert the motherboard into the case, making sure that the ports match the case’s openings. Utilise the included screws to fasten the motherboard to the casing.
8. Connect Power Supply:
Connect the power supply by setting it in the proper spot on the casing and securing it there. The motherboard and other components, including the CPU, GPU, and storage connections, should be connected to the required power cords.
9. Install GPU:
Place the graphics card into the PCI-E slot on the motherboard. If necessary, use screws to fasten the GPU to the casing.
10. Attach Storage and devices:
Use the proper cables to attach any additional optical or storage devices you may have to the motherboard. you ensure proper connections, and be sure you consult the motherboard manual.
11. Final Verification:
Before turning it on, check all connections, particularly the ones with the power supply cables, to make sure everything is well fastened. Check to see if there are any loose screws or other parts, and always remember to see whether the CPU cooler is correctly installed or not.